Docs · Guides · Portal signup
Signing up for the PartLogic portal
Tip: dotted underlines explain technical terms on hover or keyboard focus.
Create a PartLogic portal account to manage product and stock data, run onboarding, and access integrations such as the Stock API, Zapier, and Google Sheets. Registration starts a 14-day free trial with no credit card required—see pricing for plan details after the trial.
Overview
You will register with your work email, confirm the address from the welcome message, sign in to the portal, and walk through a short onboarding wizard that sets up your profile, categories, and sample data. When you are ready to connect other systems, create an API key using the Portal API key guide. For how master, Site, and Device records relate, see the Portal data model guide.
PartLogic registration (copy URL)Before you start
- Use a work email you can access immediately—you must confirm it before signing in.
- The trial is 14 days with full feature access; no credit card is required at signup (pricing).
- Allow a few minutes for the onboarding wizard; you can revisit portal areas later.
- If you already have an account, skip to Sign in.
1. Register
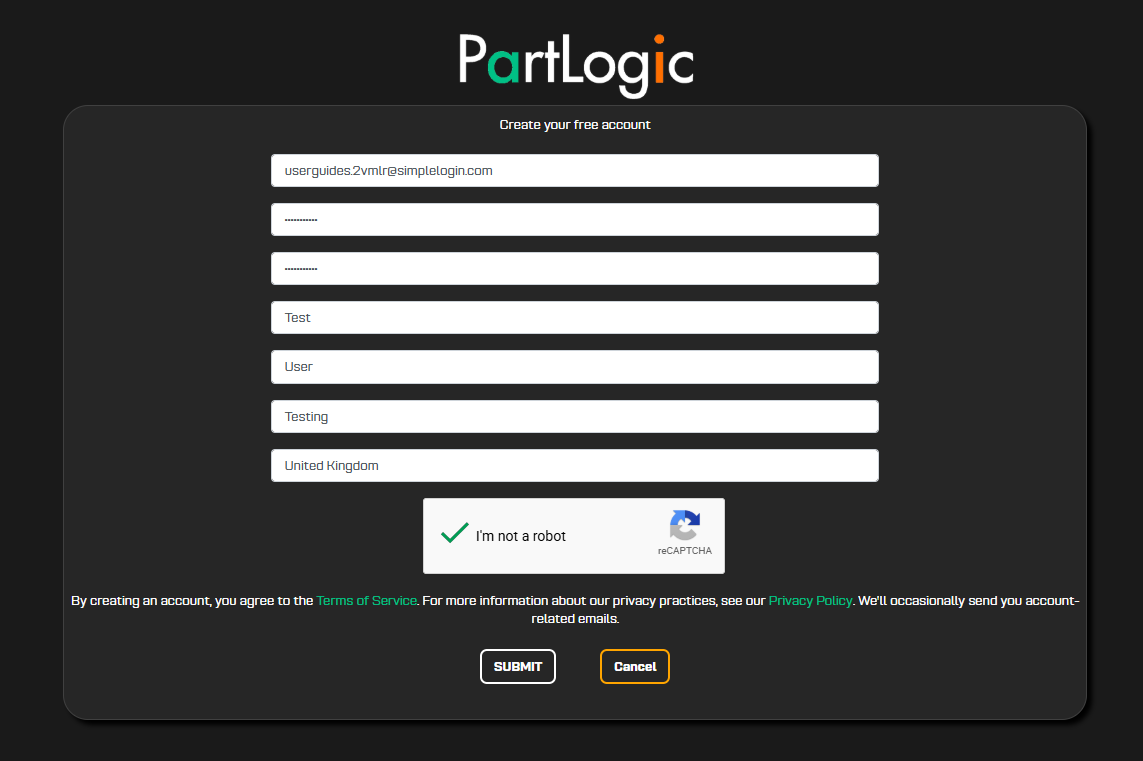
Open the registration page and complete the sign-up form. Enter your name, company, email, and password, then submit.
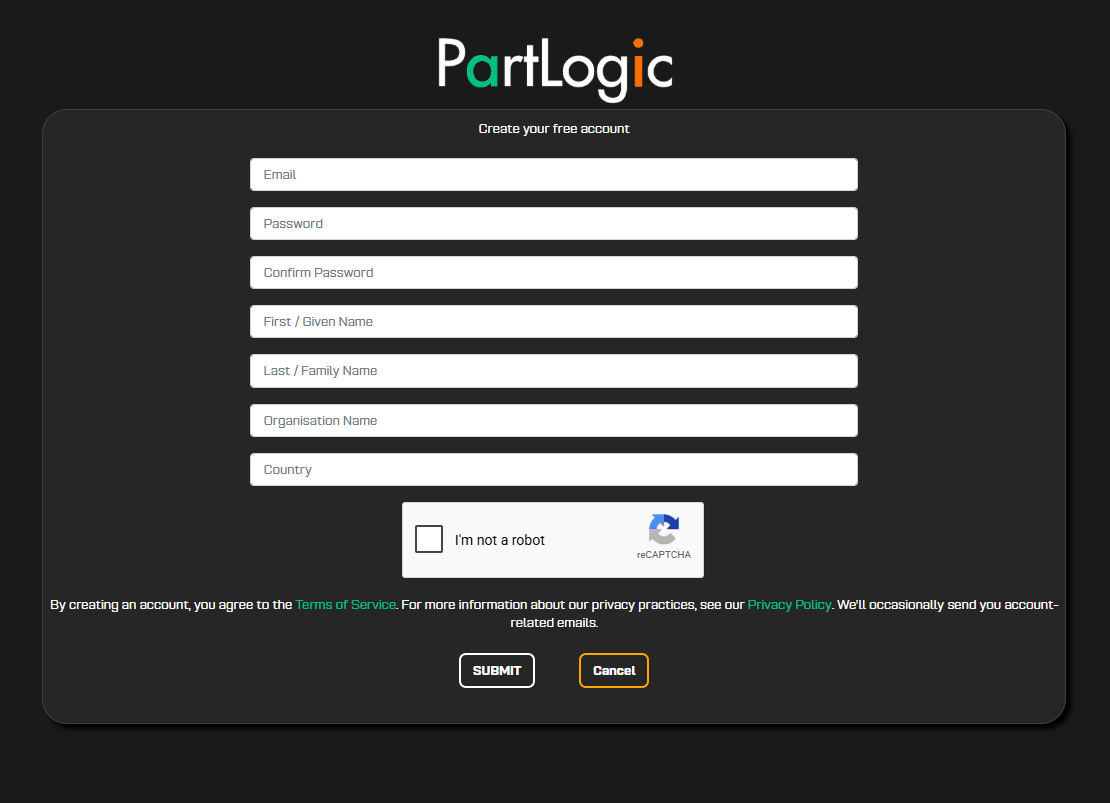
When all required fields are filled, submit the form. The portal confirms that registration succeeded and prompts you to check your email.
2. Confirm your email
PartLogic sends a welcome email with a confirmation link. Open the message and follow the link to verify your address before your first sign-in.
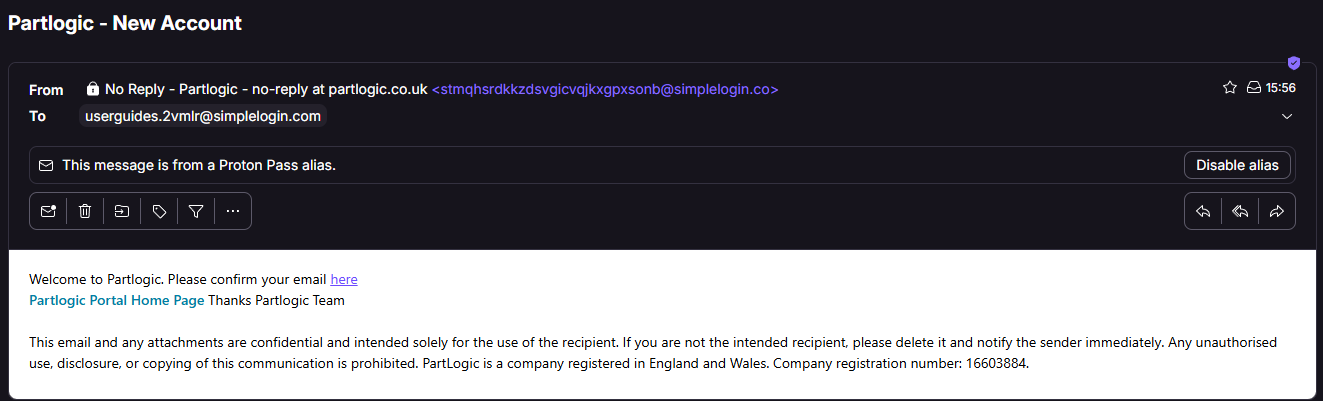
If the email does not arrive within a few minutes, check spam or junk folders. You can request a new confirmation from the portal sign-in page if needed.
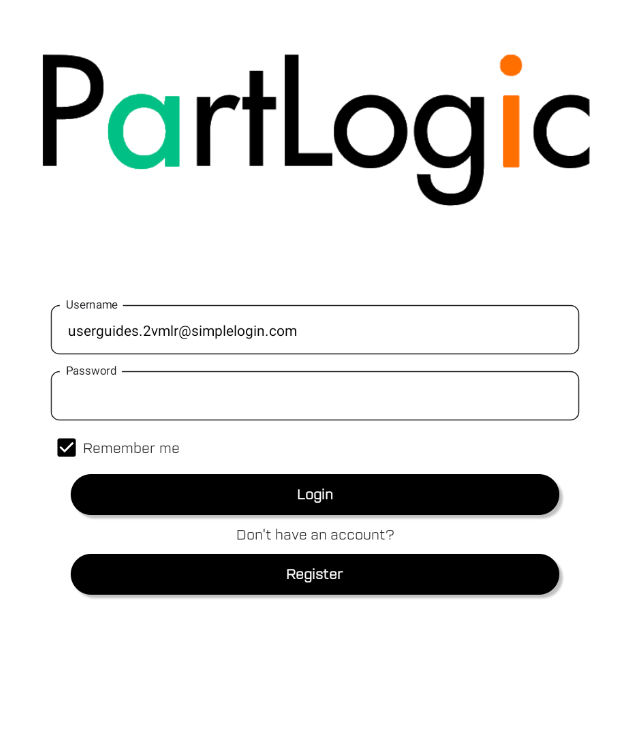
3. Sign in
After confirming your email, go to the PartLogic portal and sign in with the email and password you registered.
PartLogic portal (copy URL)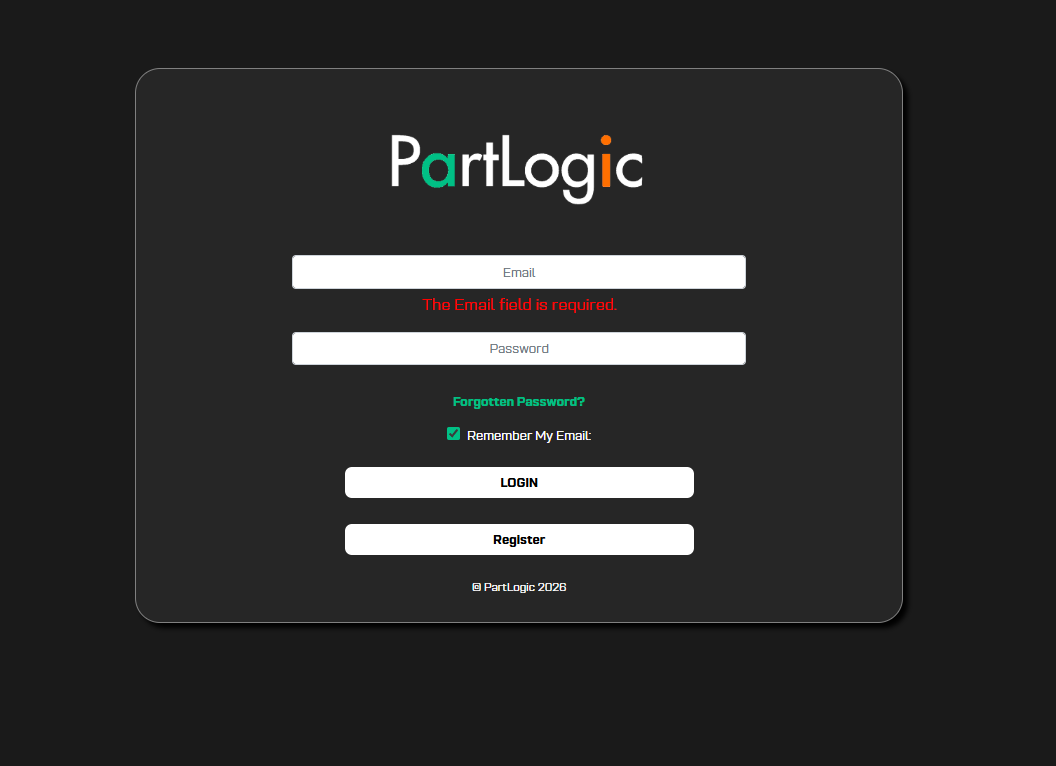
4. Onboarding wizard
On first login, the portal guides you through setup: your operational challenges, company profile, product categories, and optional sample data. Work through each step—you can adjust settings later in the portal.
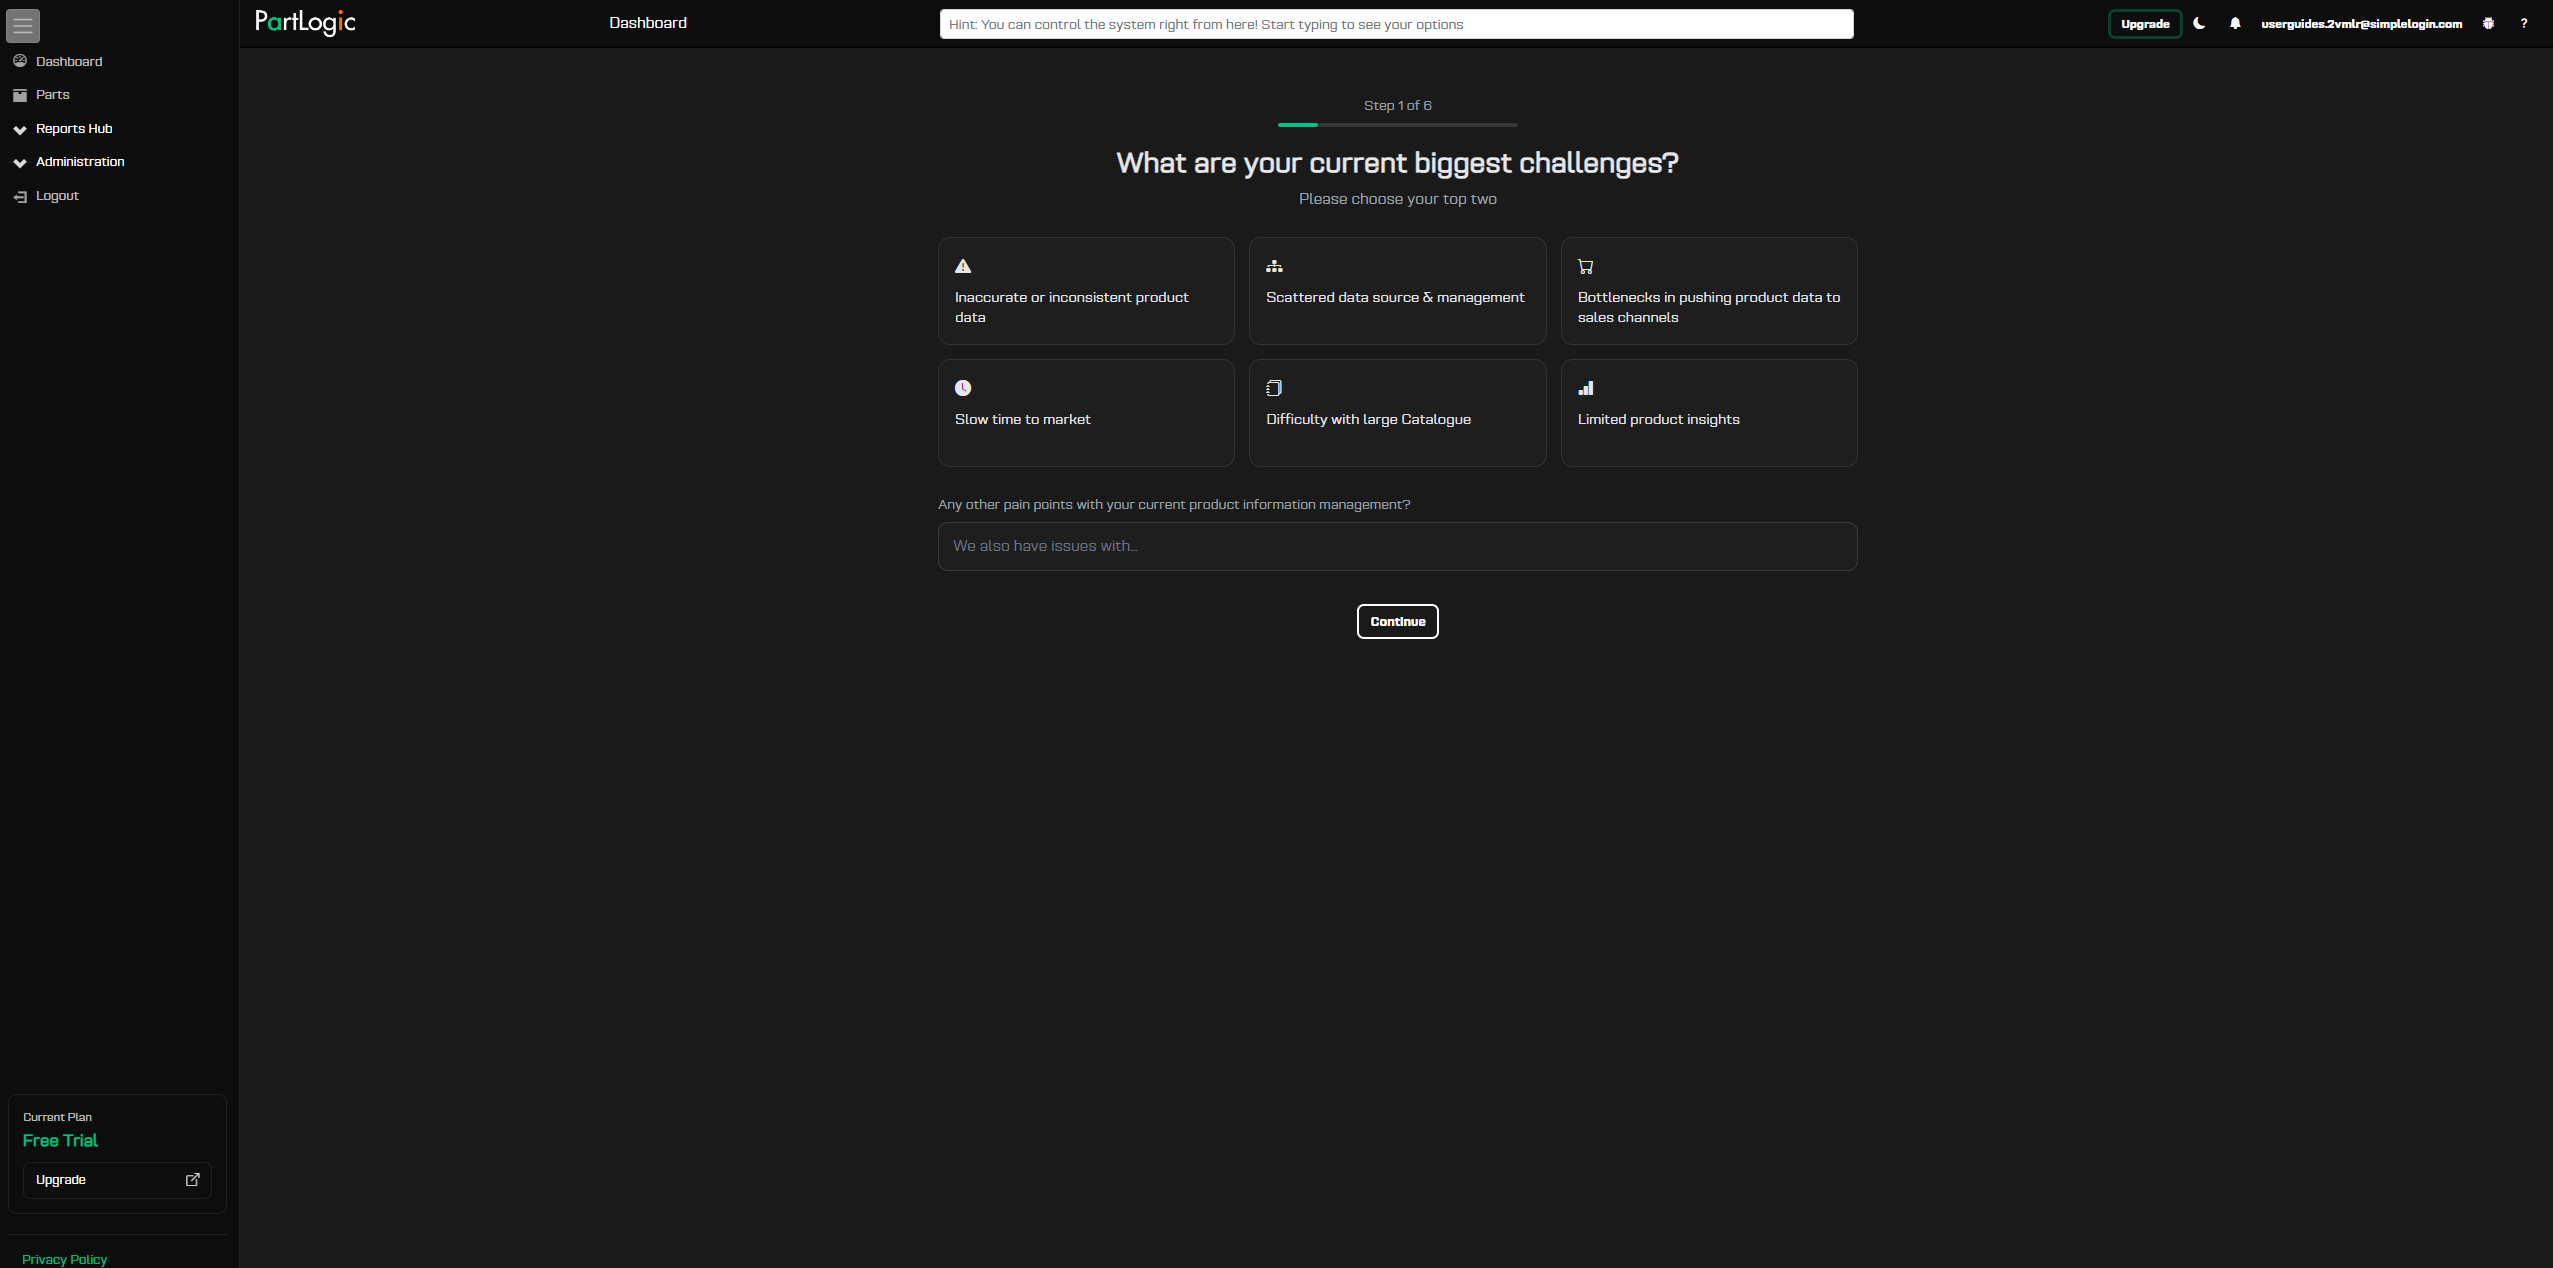
Step 1 — Your challenges
Select the areas PartLogic should help with (for example catalogue quality, stock visibility, or integrations). This tailors later prompts in the wizard.
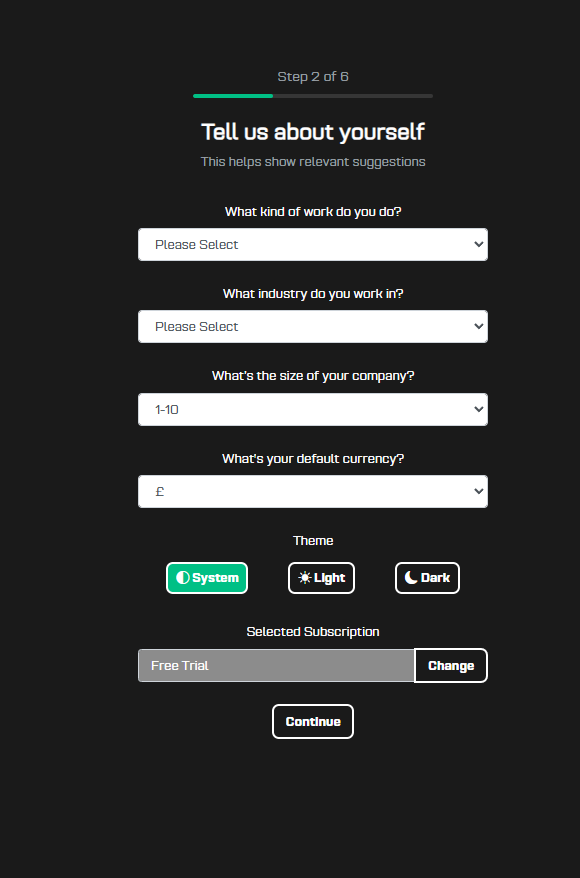
Step 2 — Company profile
Add company details such as industry and site information so the portal can configure defaults for your account.
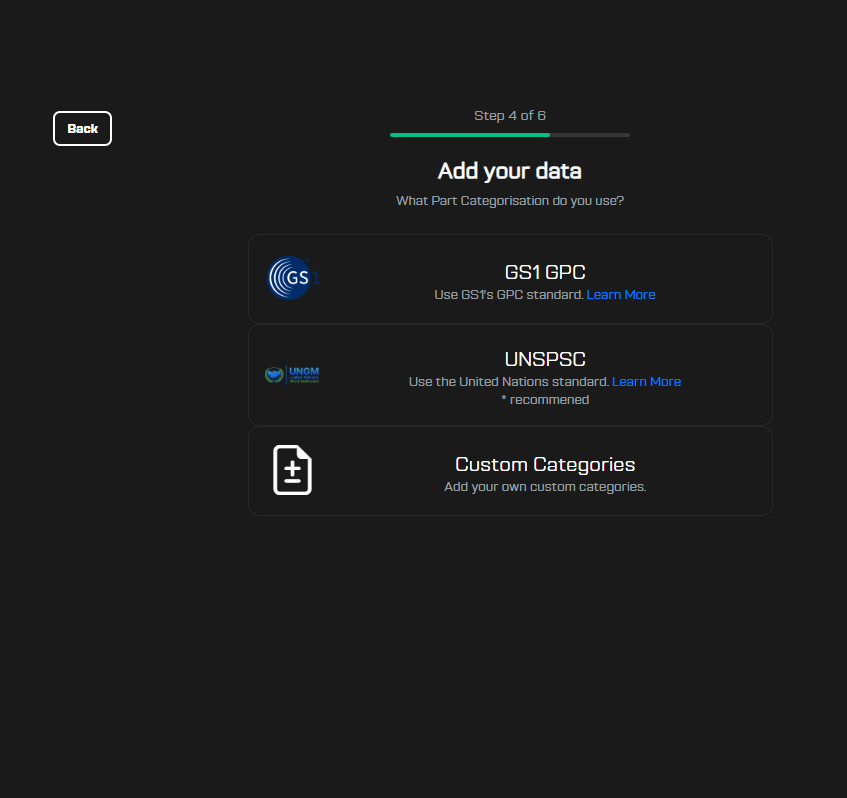
Step 4 — Categories
Choose or confirm product categories for your catalogue. Consistent categories help reporting and integrations later—see GTIN check & categories for classification guidance.
Step 5 — Add your data
Decide how to populate your catalogue: import a file, connect a system later, or start with sample data. For import quality tips, see Good data practices.
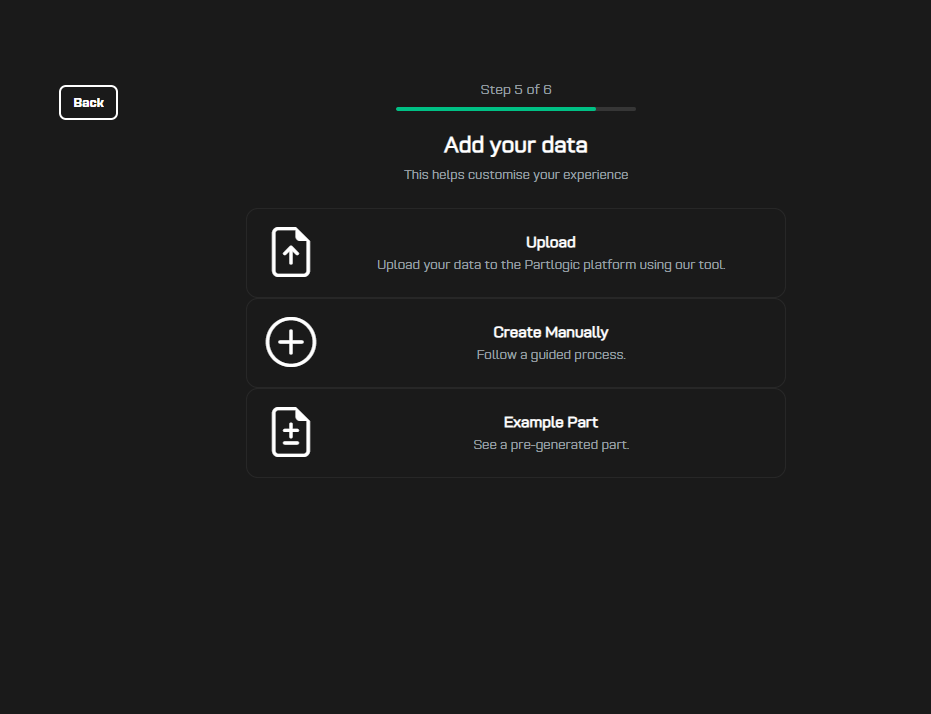
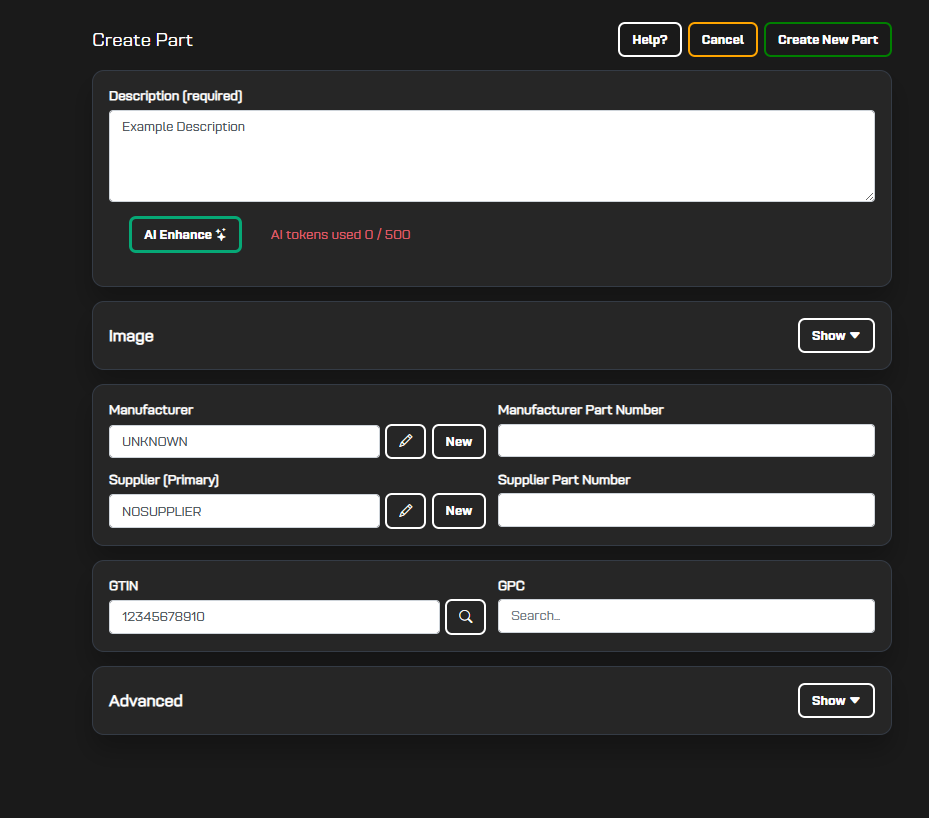
Create an example part
The wizard may prompt you to create an example part so you can see how master records appear in the portal.
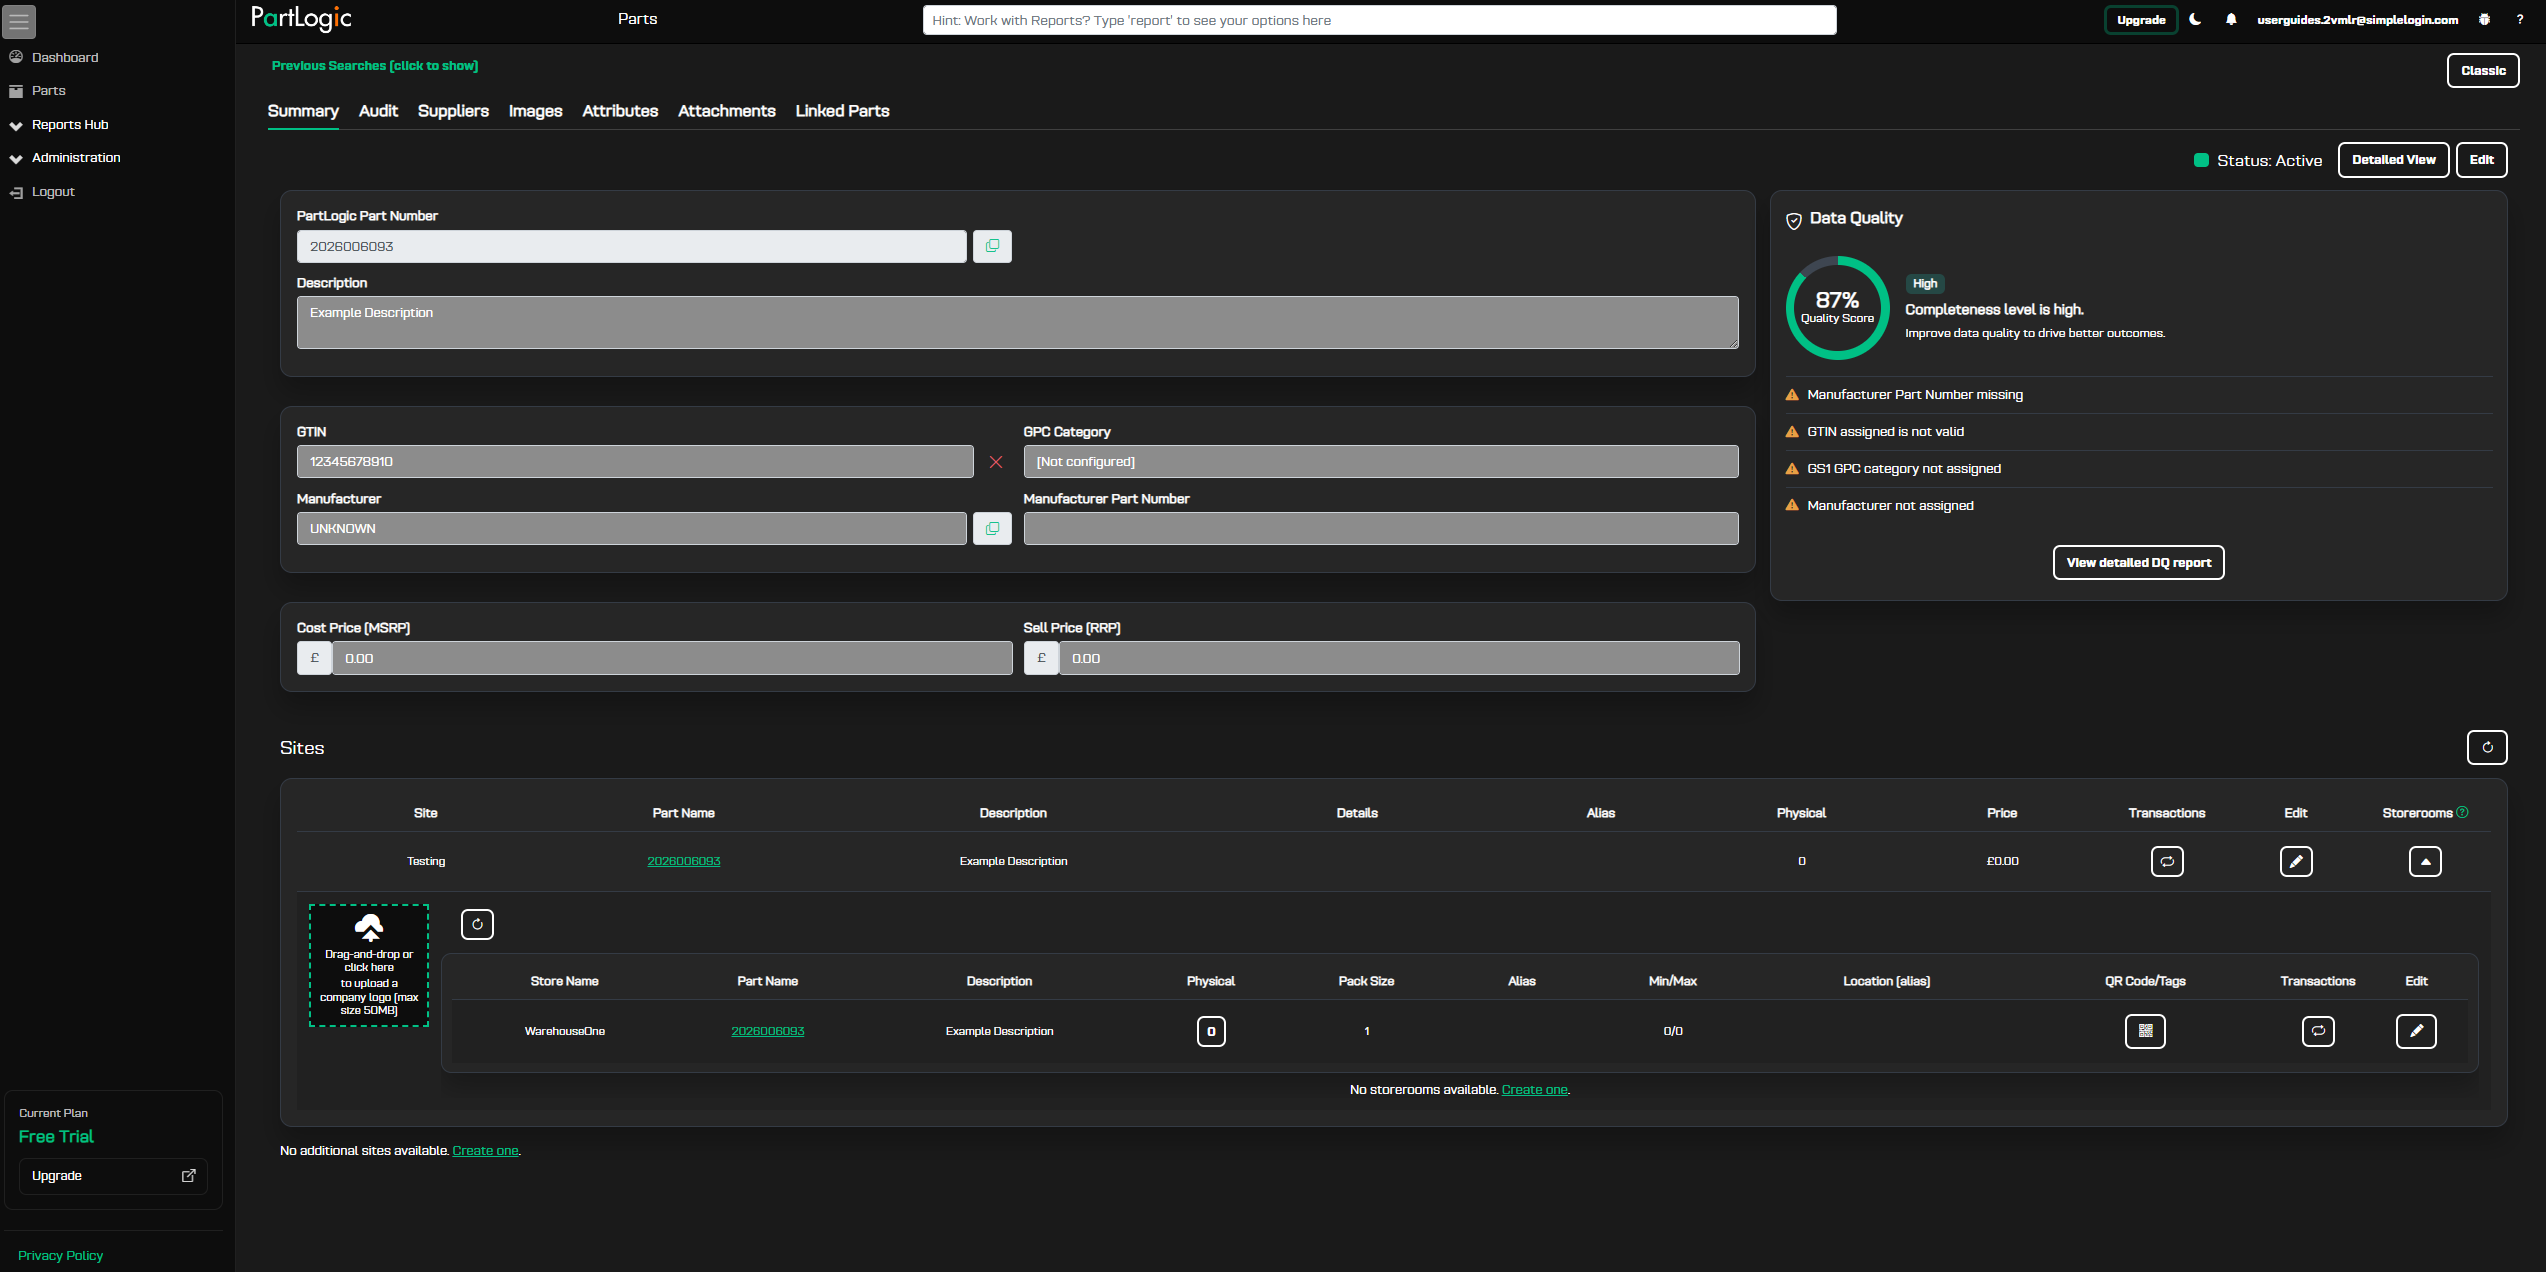
5. Portal home
After onboarding, you land on the portal dashboard with navigation to products, stock, devices, integrations, and settings. The layout matches the landing view shown in step 1 once setup is complete. Explore menus at your own pace—the Portal data model guide explains how records link together.
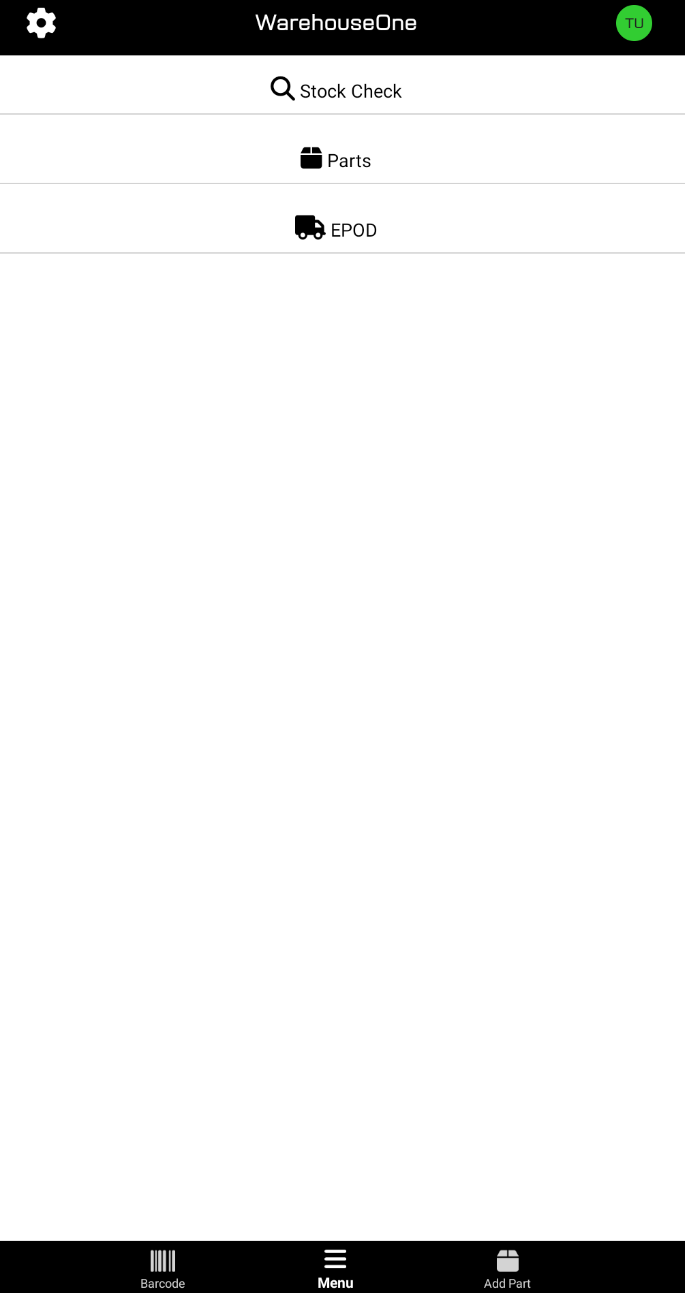
Mobile app (optional)
PartLogic includes a mobile app for warehouse and field workflows. Install it from your device's app store, then sign in with the same portal credentials.
Next steps
- Read the Portal data model to understand master, Site, and Device records.
- Create an API key with the Portal API key guide when you are ready to integrate.
- Choose an integration path: API Reference, Zapier, Google Sheets, or Power BI.
- Before your trial ends, compare plans on pricing or contact us to continue.
Need help?
For integration and API questions after signup, see Integration support. For anything else, contact us.
Rest of the guide coming soon… This page covers the basics for getting started. We will add more detail on portal workflows over the next week or so.